Optimized Scanning Process- Tips & Tricks
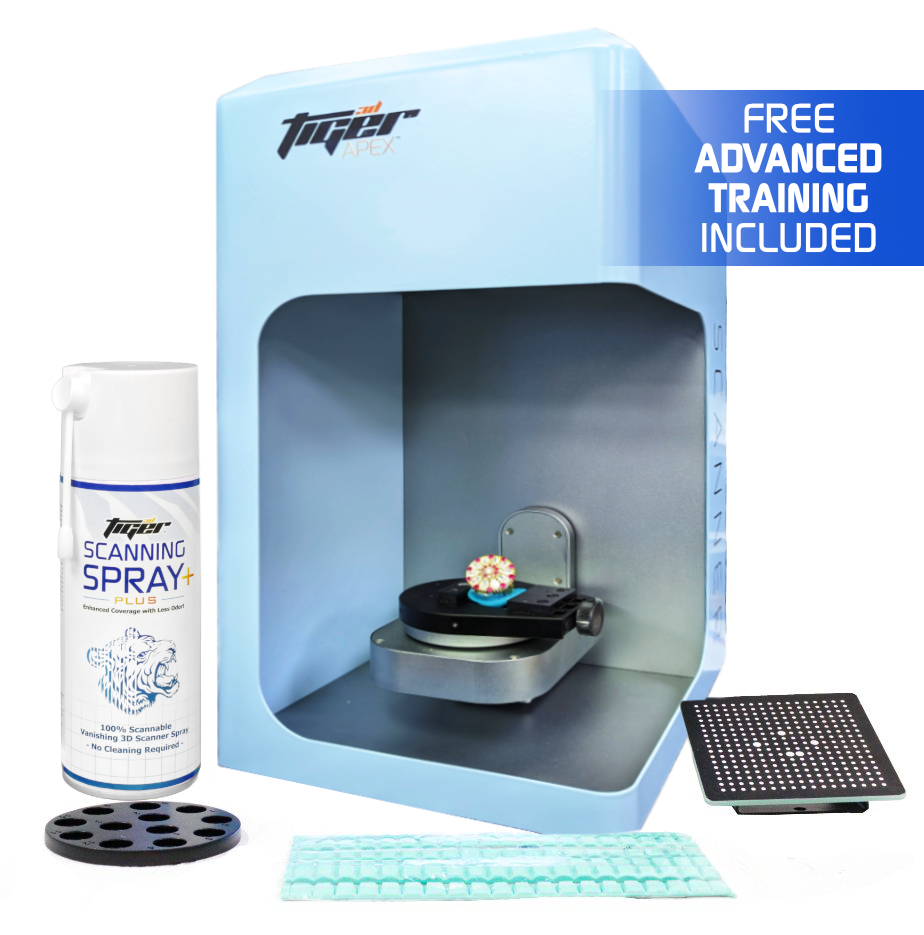
Optimized Preparation and Scanning Process for Jewelry Models Scans Jewelry, Rings, and Other Small Objects
3D Scanning for Enhanced Jewelry Design:
Using a 3D scanner can significantly accelerate your design workflow, especially when intricate, real-life jewelry models are involved. Jewelry 3D scanners specialize in capturing small, detailed objects like rings, brooches, necklaces, and gemstones, allowing jewelers to generate precise digital models for repair, replication, and a range of other applications.
3D Scanning Sprays: Essential for Challenging Surfaces:
Romanoff’s 3D scanning sprays are specifically formulated for surfaces that standard optical 3D scanners struggle to capture. The spray delivers a thin, even coating without clumping, making it ideal for both small and large projects. With sublimating properties, the spray vanishes into the air, leaving no mess behind.
When prepping a model for scanning, apply a minimal amount of spray for an ultrathin layer that ensures optimal surface coverage and scanning results.
Scanning Challenges & Solutions:
1. Transparent/Clear Surfaces:
Transparent materials disrupt light transmission, making them difficult to scan. Applying a thin spray coating helps the scanner capture necessary details.
2. Reflective/Metallic/Glossy Surfaces:
Reflective surfaces scatter light, affecting scanning precision. A matte coating minimizes this, ensuring structured light patterns aren’t distorted.
3. Deep Grooves, Holes, and Cavities:
Deep pockets or cavities reflect light inconsistently, potentially creating artifacts in the scan. The spray equalizes the surface, reducing these issues.
4. Dark Materials:
Dark surfaces absorb light, challenging structured-light scanners. A sprayed layer enables consistent light reflection, enhancing scan quality.
Spray Application Technique:
Shake the can well and hold it 18 to 24 inches from the model. Apply a few light coats to evenly cover the surface.
Step-by-Step Jewelry Scanning Process:
1. Prepare Jewelry:Jewelry surfaces are often reflective and shiny, which complicates scanning. A washable matte spray can reduce reflections and facilitate smooth scanning.
2. Position Jewelry:Place the jewelry on an automatic rotating table to capture it from all angles. Position the most detailed side upward and, if needed, flip the piece to capture hidden surfaces.
3. Begin Scanning: Use the scanner software to start the process, control the automatic turntable, and adjust resolution and other parameters as needed.
After scanning, the software generates a 3D mesh file (e.g., STL format), which can be further modified, shared, or stored.
3D Print the ModelExport the 3D model for printing with SLA or MJP wax printing. The printed model can then be used in investment casting to produce final jewelry pieces in metals like gold, silver, or bronze.
Conclusion:
With Romanoff’s 3D scanning sprays and precision jewelry 3D scanners, jewelers can capture intricate designs, prepare models efficiently, and bring them to life with detailed digital and physical renditions.


Log In