Torit 1500 & 3000 Filter Replacement- Tips & Tricks
<--View Previous Screen
Filter Removal & Installation Guide
Maintaince Information: Instruct all personnel on safe use and maintenance procedures. Use proper equipment and adopt all safety precautions needed for servicing equipment. Use appropriate access equipment and procedures. Note the standard collector is not equipped with access platforms unless noted on the specification drawings. Electrical service or maintenance work must be performed by a qualified electrician and comply with all applicable national and local codes. Turn power off and lock out all power before performing service or maintenance work. Do not install in classified hazardous atmospheres without an enclosure rated forthe application. Maintenance Information
Operational Checklist
- Monitor the physical condition of the valve and auger and repair or replace any damaged components. Routine inspections will minimize downtime and maintain optimum system performance. This is particularly important on continuous-duty applications.
- Monitor pressure drop across filters. Abnormal changes in pressure drop may indicate a change in operating conditions and possibly a fault to be corrected.
- Monitor exhaust.
- Monitor dust disposal
Filter Removal and Installation
Use proper safety and protective equipment when removing contaminants and filters. Dirty filters may be heavier than they appear. Use care when removing filters to avoid personal injury and/or property damage. Turn power off and lock out all power before performing service or maintenance work. Do not operate with missing or damaged filters.
Prefilter Removal
- Remove the nylon mesh prefilter.
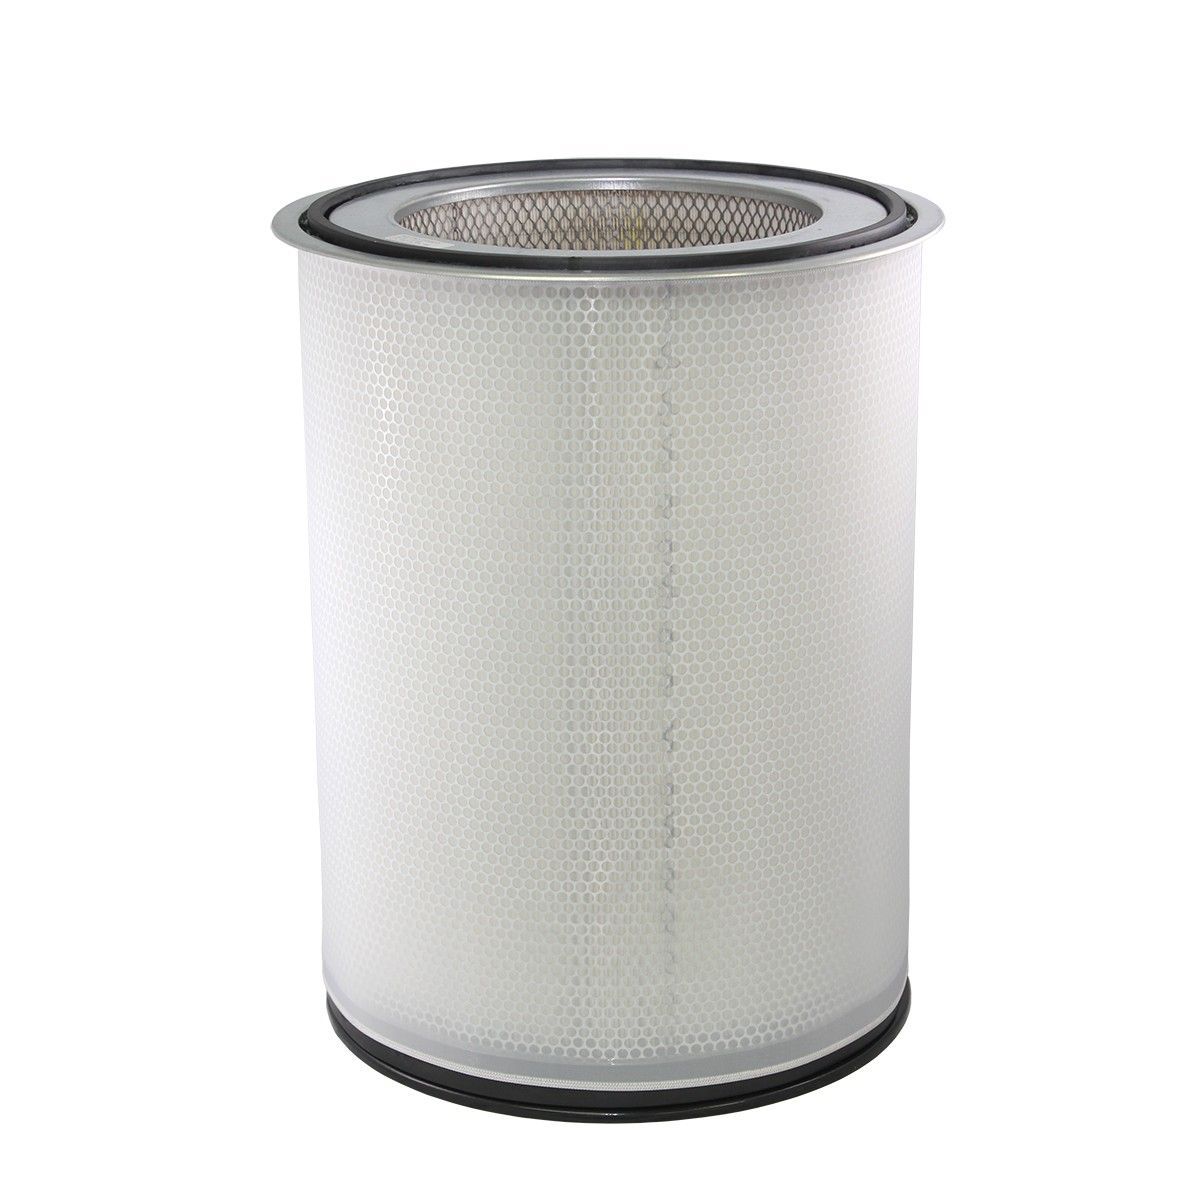
- Reinstall the prefilter placing the top edge against the upper end cap of the filter cartridge. Stretch the screen for a tight fit and secure using a hook-and- loop fastener.
- Note:The prefilter must cover all holes in the perforated liner. Stretch to fit.
Filter Removal
- Disconnect electrical power.
- Open the bottom access door.
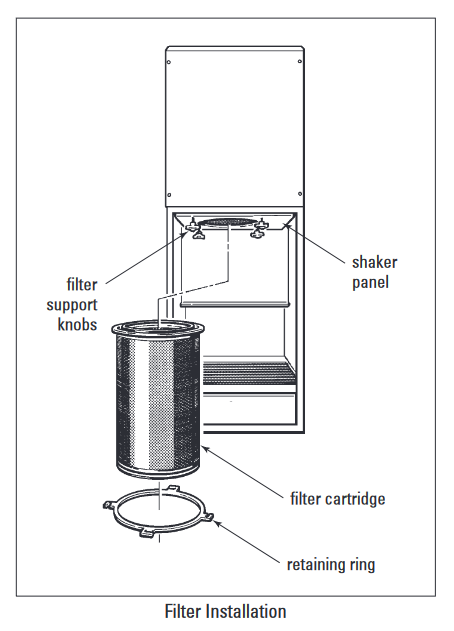
- Loosen four filter support knobs.
- Turn the retaining ring counterclockwise to release the ring and filter.
- Remove the retaining ring and filter and dispose of filter properly.
Filter Installation
- Check the gasket surface on the shaker panel and clean as necessary.
- Install new filter reusing the retaining ring and tighten the four filter support knobs by hand.
- Check the door gasket for condition and replace as necessary.
- Close bottom access door and secure latches.
- Notes: Slight bleed-through on new filters is normal and will disappear as the filter seasons.
Dust Disposal
To avoid possible damage to the fan motor maintain a seal below the collector if servicing the dust storage device while the fan is running.
- Empty dust container(s) (drum or bin) as necessary to minimize dust in the hopper.
- If the optional 5-gallon pail pack or 55-gallon drum attachment is used, empty when dust container is 2/3 full.
- If optional slide gate is used, close gate before servicing dust container
- Sharp edge of slide gate may result in personal injury while closing the slide gate. Keep hands clear when operating the slide gate.
- Check integrity of gasket under drum cover.
- Replace or reinstall dust container and open gate (if applicable).


Log In